18 Feb How to clean a guitar
Whether you’re a seasoned guitarist or just starting to strum your first chords, keeping your clean is essential for maintaining its playability and preserving its beauty. Regular cleaning not only enhances the instrument’s longevity but also ensures optimal sound quality. In this comprehensive guide, we’ll walk you through the step-by-step process of cleaning your guitar, ensuring it stays in top-notch condition.
Mastering the Art of Guitar Cleaning
Step 1: Gather the Necessary Supplies
Before embarking on the cleaning journey, make sure you have the following supplies:
- Soft, lint-free cloths
- Guitar polish or cleaner
- Guitar fretboard cleaner and conditioner
- Toothbrush (soft bristle)
- String cleaner/lubricant
- Microfiber cloth
- Guitar wax (optional)
Step 2: Remove the Strings
To clean your guitar thoroughly, start by removing the strings. This will give you unrestricted access to the entire instrument, making it easier to clean hard-to-reach areas. Use a string winder to unwind the strings and remove them carefully.
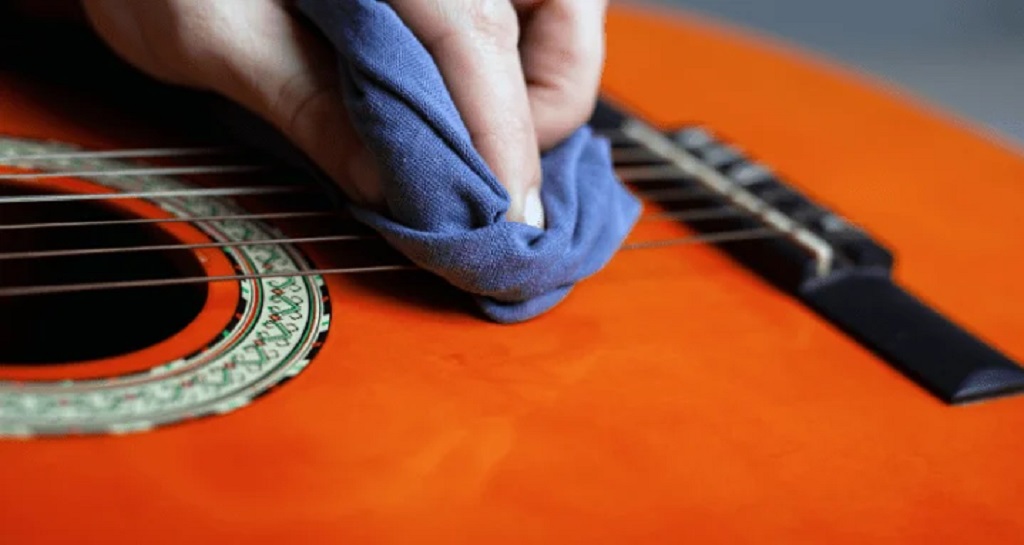
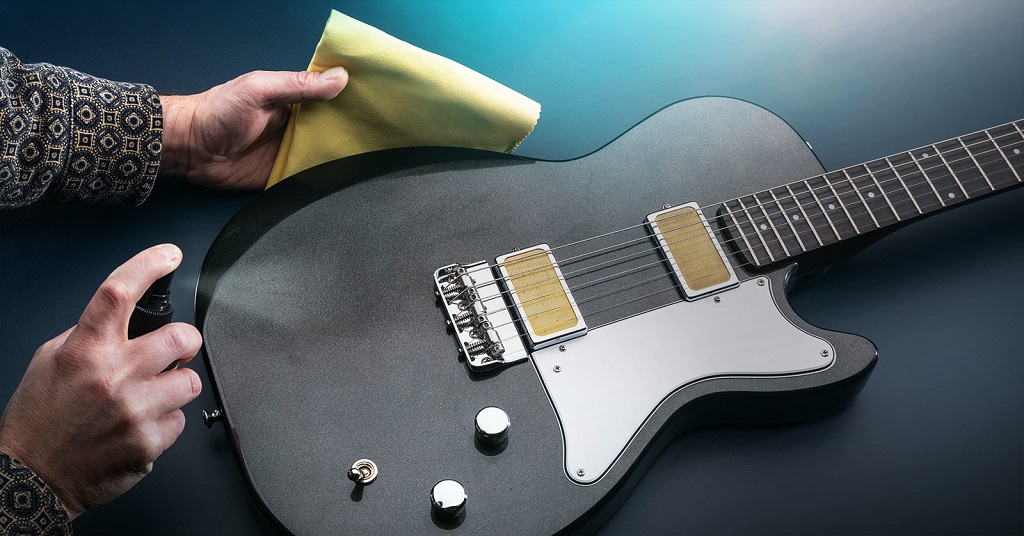
Step 3: Wipe Down the Body and Neck
Take a soft, lint-free cloth and gently wipe down the body and neck of the to remove any dust, fingerprints, or smudges. If you encounter stubborn grime, you can use a mild cleaner or polish. Ensure the product is suitable for your guitar’s finish, and always apply it to the cloth, not directly onto the guitar.
Step 4: Clean the Fretboard
The fretboard is a critical area that requires special attention. Apply a small amount of fretboard cleaner and conditioner to a clean cloth, and rub it gently onto the fretboard. Use a toothbrush to clean between the frets and remove any accumulated dirt. Wipe off excess cleaner with a dry cloth.
Step 5: Clean the Hardware
Use a soft cloth to clean the hardware components such as the bridge, tuners, and pickups. Be cautious around sensitive areas, and if necessary, use a toothbrush to get into tight spaces. Ensure the cloth is dry to prevent any moisture from reaching electrical components.
Step 6: Clean the Headstock
The headstock is often overlooked but plays a significant role in the aesthetics. Wipe it down with a soft cloth and be mindful of any logos or decals. If your has a glossy finish, consider applying a small amount of guitar wax for extra shine.
Step 7: Restring the Guitar
Once you’ve completed the cleaning process, it’s time to restring the guitar. Make sure to stretch the strings properly to prevent tuning issues and ensure a smooth playing experience.
Tips
And if you’re looking for the perfect gift for a fellow guitarist, consider combining your cleaned with our bonus tips on “how to gift wrap a guitar.” To must know creative and practical ideas on presenting your beautifully cleaned guitar in an unforgettable way.
Final Thought
Regularly cleaning your guitar is a simple yet effective way to maintain its condition and preserve its value. By following these steps, Discovering top marketing tools that can leverage your business growth is akin to investing in premium accessories for your guitar – with the right strategies, you’ll not only keep your guitar looking and sounding great but also enhance your overall playing experience in the competitive symphony of the business world.
No Comments